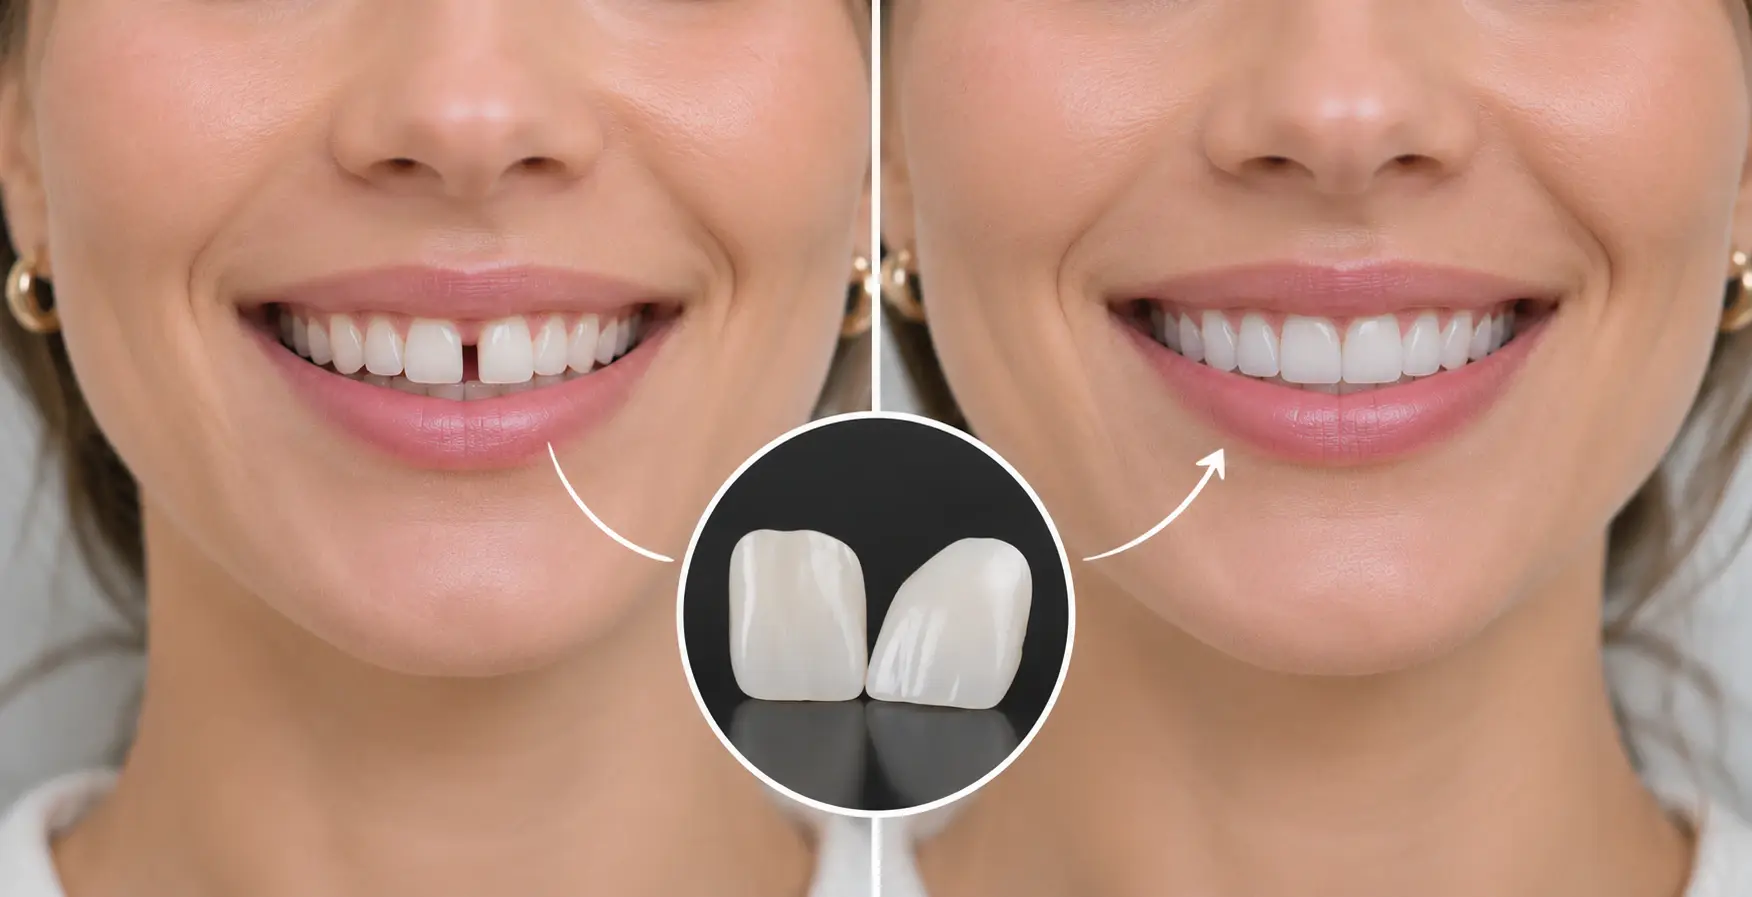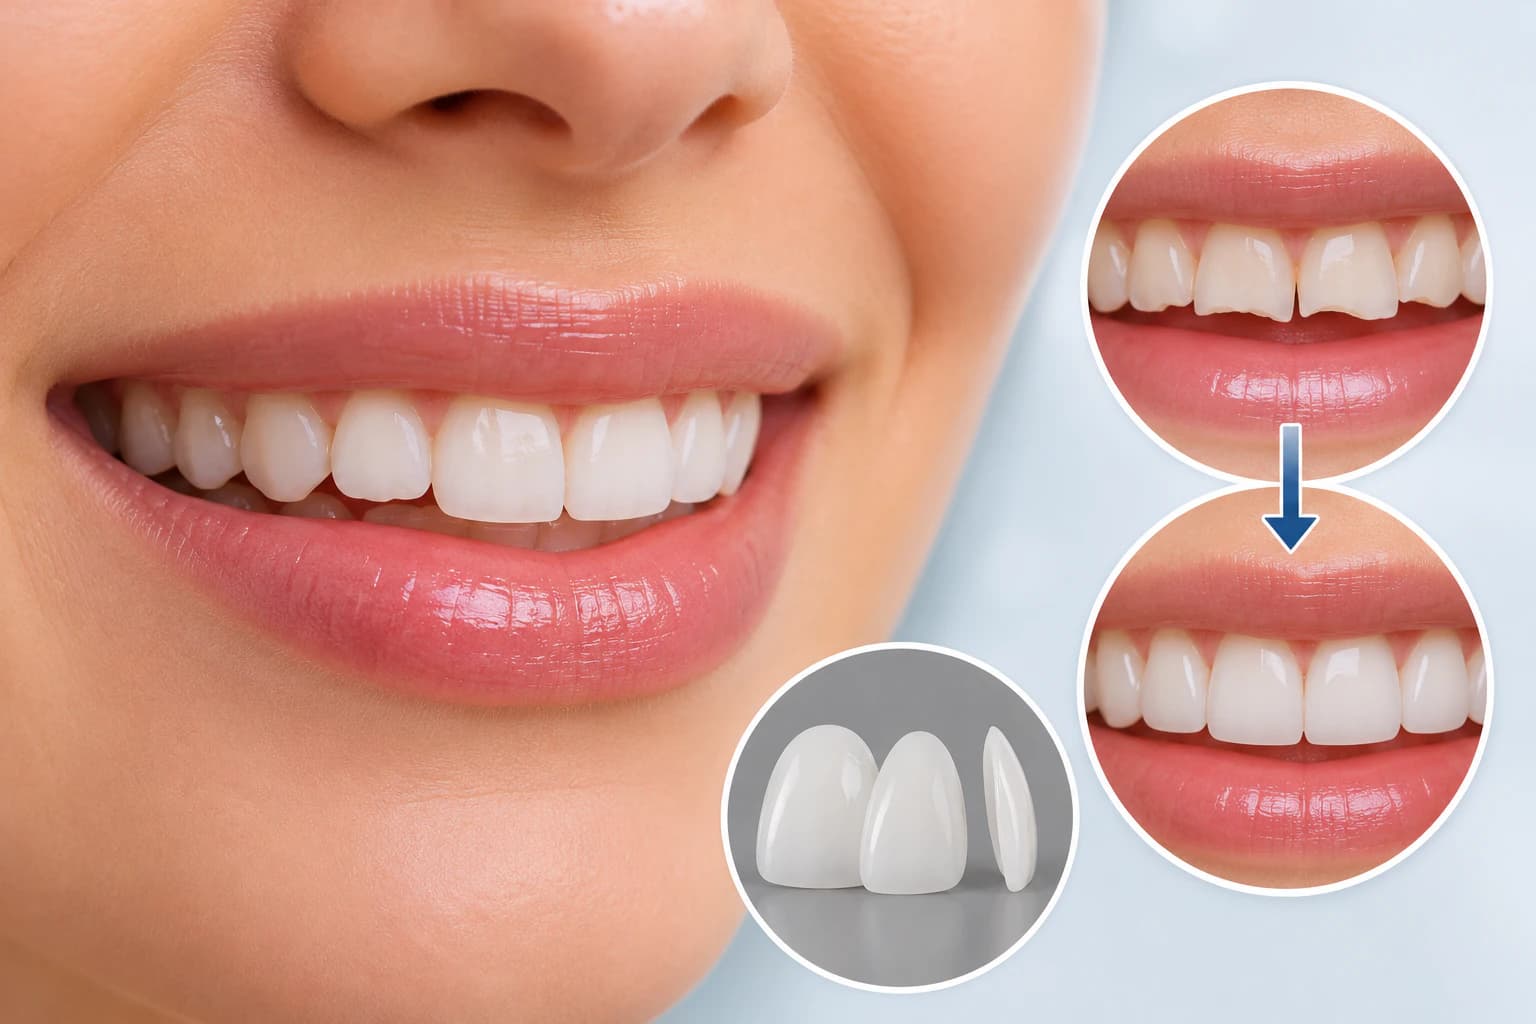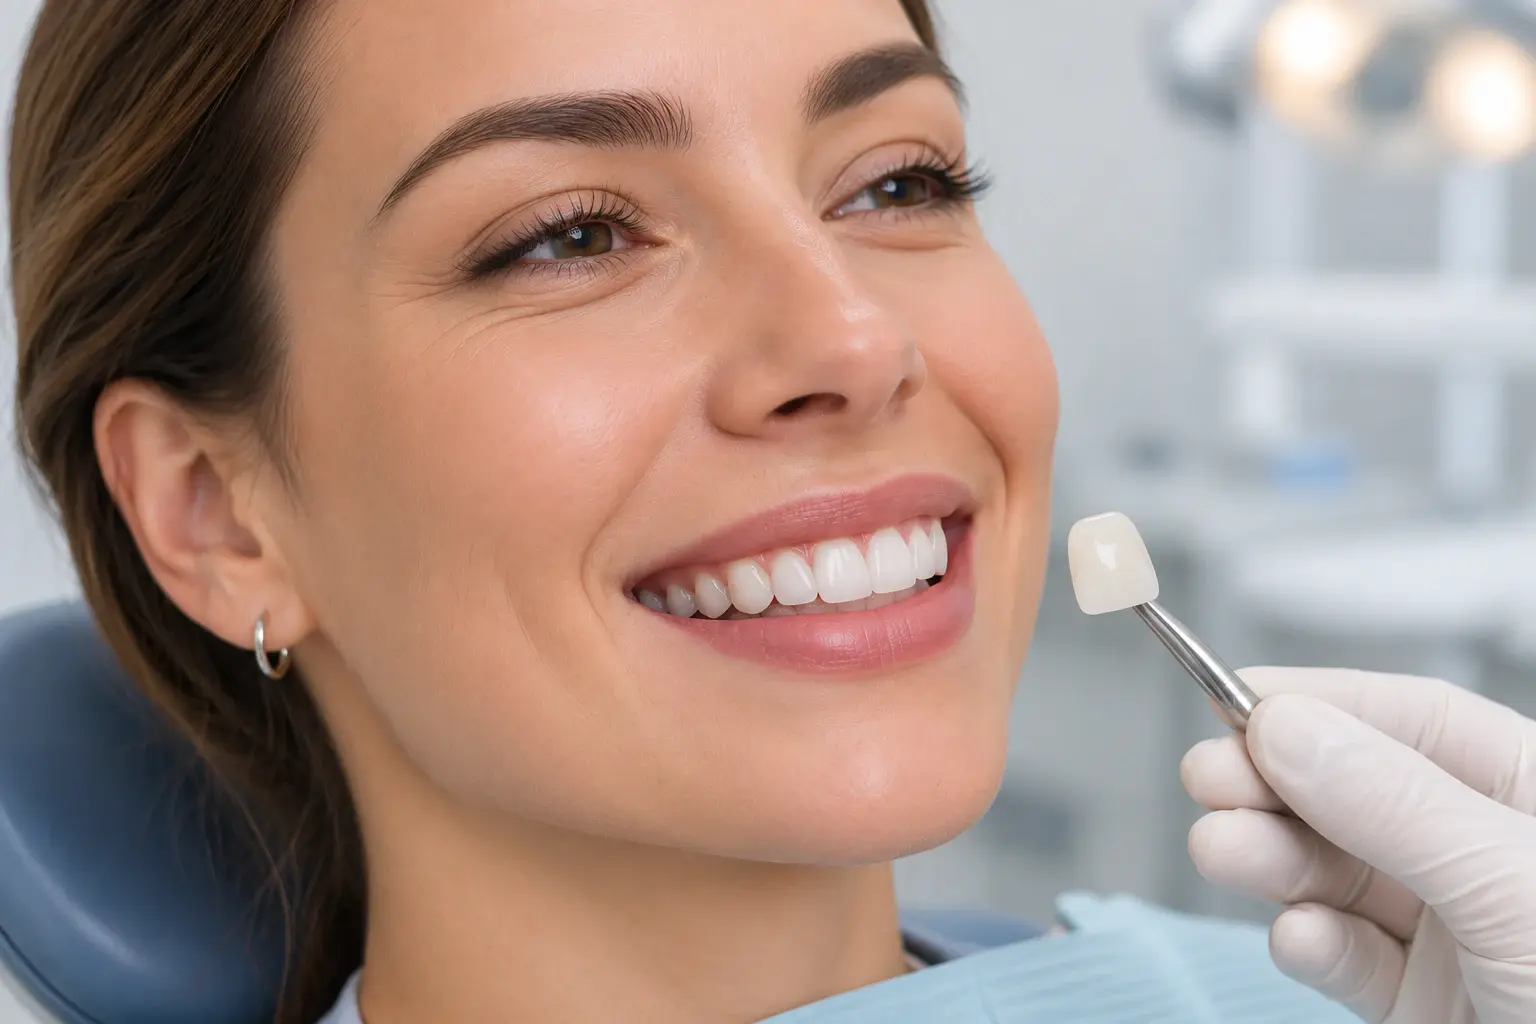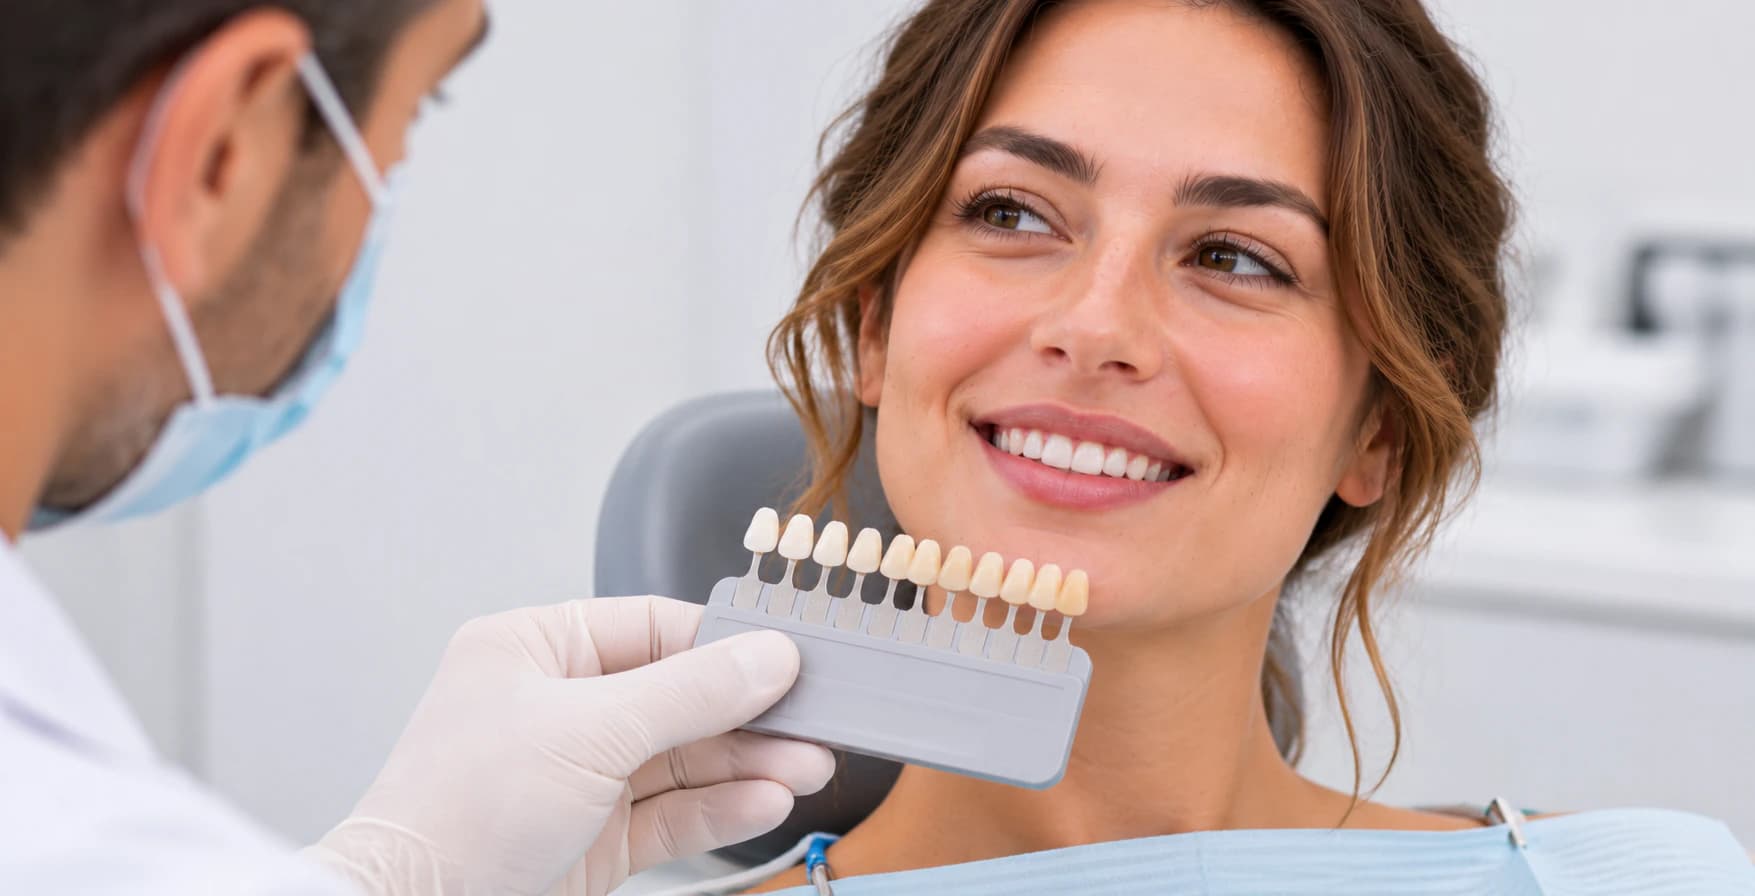
You choose the right shade for E.max veneers by combining a clinical shade assessment with your facial features, natural tooth colour, and personal goals. Your dentist uses shade guides, photography, and translucency selection to reach a predictable result.
Knowing how to choose the right shade for E.max veneers matters more than any other single decision in the treatment. The colour of the ceramic controls how your smile looks in every light, every photo, and every conversation. A shade that suits your face can look invisible next to natural teeth. A shade that ignores your features can look artificial even when the shape is perfect.
Colour selection also affects satisfaction over time. Research shows that patients judge the quality of front tooth restorations mainly by colour match, not by shape or surface polish (Paravina et al. 2015). This means the shade decision deserves a structured process, not a quick glance at a sample tab.
This guide explains how that process works. You will learn what makes E.max ceramic unique, which factors shape the final colour, how dentists use shade guides and digital tools, and how you can preview your result before bonding.
What Makes E.max Veneers Different in Terms of Colour and Aesthetics?
E.max veneers are made from lithium disilicate glass ceramic. This material transmits and scatters light in a way that closely copies natural enamel, which gives the restoration depth and a lifelike colour.
E.max is a lithium disilicate glass ceramic. Its microstructure contains needle-shaped lithium disilicate crystals embedded in a glassy matrix. This structure gives the material both strength and high aesthetic potential (Kelly and Benetti 2011). The glass phase controls how light travels through the ceramic. The crystal phase controls how much light scatters back to the eye (Lohbauer et al. 2024).
Natural enamel behaves in a similar way. It is translucent, so light enters the tooth, bounces off the deeper dentin, and returns to the surface. This creates the depth and subtle colour shifts that make a tooth look alive. Opaque materials, such as older feldspathic or metal-based restorations, block this light path and can look flat (Heffernan et al. 2002).
Ceramic thickness also shapes the final colour. Thinner sections transmit more light and show more of the underlying tooth. Thicker sections transmit less light and look brighter but less deep (Wang, Yu, and Chen 2019). This is why your dentist plans both the shade and the thickness together. A highly translucent E.max veneer on a healthy tooth reproduces the depth of natural enamel. A more opaque version suits a discoloured tooth that needs masking (Vichi et al. 2023).
Which Factors Should Influence Your E.max Veneer Shade Selection?
Seven main factors guide E.max veneer shade selection: natural tooth colour, skin undertone, eye and hair colour, age, lip colour, personal expectations, and existing dental restorations.
No single factor decides the shade alone. Your dentist weighs each one against the others. The table below summarises what each factor contributes to the decision.
Factor | What the dentist assesses | How it shapes the shade |
Natural tooth colour | Baseline hue, chroma, and value of untreated teeth | Sets the reference point for a seamless match |
Skin undertone | Warm, cool, or neutral tones in the complexion | Warm undertones suit warmer shades; cool undertones suit neutral shades |
Eye and hair colour | Overall colour contrast of the face | High contrast features can carry brighter shades more naturally |
Age | Natural darkening and wear patterns of teeth | Older patients often suit slightly lower value, higher chroma shades |
Lip colour | Frame around the smile | Darker lips increase contrast; a moderate shade avoids harsh contrast |
Personal expectations | Preference for subtle or noticeable change | Defines the target brightness range |
Existing restorations | Colour of adjacent crowns or fillings | Veneers must blend with work the dentist cannot replace |
Natural tooth colour anchors the whole plan. Your dentist records the shade of the teeth next to the planned veneers before any preparation. Skin undertone comes next. A warm ivory shade flatters golden or olive skin. The same shade can look yellow next to a cool, fair complexion. Age also matters because natural teeth gain chroma and lose value over the decades. A teenager's bright shade can look out of place on a sixty-year-old face.
Personal expectations set the final target. Some patients want a subtle refresh. Others want a visibly brighter smile. Both goals are valid, but the shade must still respect the factors above. A shade that fights your natural features draws attention to the veneers instead of your smile.
How Do E.max Veneer Shade Guides Help Determine the Right Colour?
A dental veneer shade guide gives your dentist a standardised set of ceramic tabs for direct comparison with your teeth. It turns colour from an opinion into a documented, repeatable measurement.
The most common tool is the VITA Classical shade guide. It organises natural tooth colours into four hue groups. Group A covers reddish brown tones, group B covers reddish yellow, group C covers grey, and group D covers reddish grey (Paravina 2009). Each group contains numbered tabs from 1 to 4. As the number rises, the shade becomes darker and more saturated.
VITA group | Hue family | Typical use |
A (A1 to A4) | Reddish brown | Most common natural tooth shades |
B (B1 to B4) | Reddish yellow | Naturally lighter, yellow-based teeth |
C (C1 to C4) | Grey | Teeth with low chroma, often in older patients |
D (D2 to D4) | Reddish grey | Teeth with mixed brown and grey tones |
Three dimensions describe every tab: hue, chroma, and value. Hue names the colour family. Chroma measures its intensity. Value measures lightness, and research identifies value as the most critical dimension for a perceived match (Chu, Trushkowsky, and Paravina 2010). Your dentist compares tabs with your teeth before preparation, holds them in the same plane as the tooth, and decides within seconds to avoid eye fatigue.
Lighting controls the accuracy of this step. Shade assessment works best under colour-corrected light with a temperature near 5500 K, which mimics natural daylight. The same tooth can look different under warm room light or cool operating lights, a phenomenon called metamerism (Chu, Trushkowsky, and Paravina 2010). Your dentist then documents the selected shade, often with photographs, so the dental laboratory receives an exact specification rather than a guess.
What Is the Difference Between Natural, Bright and Bleaching Shades?
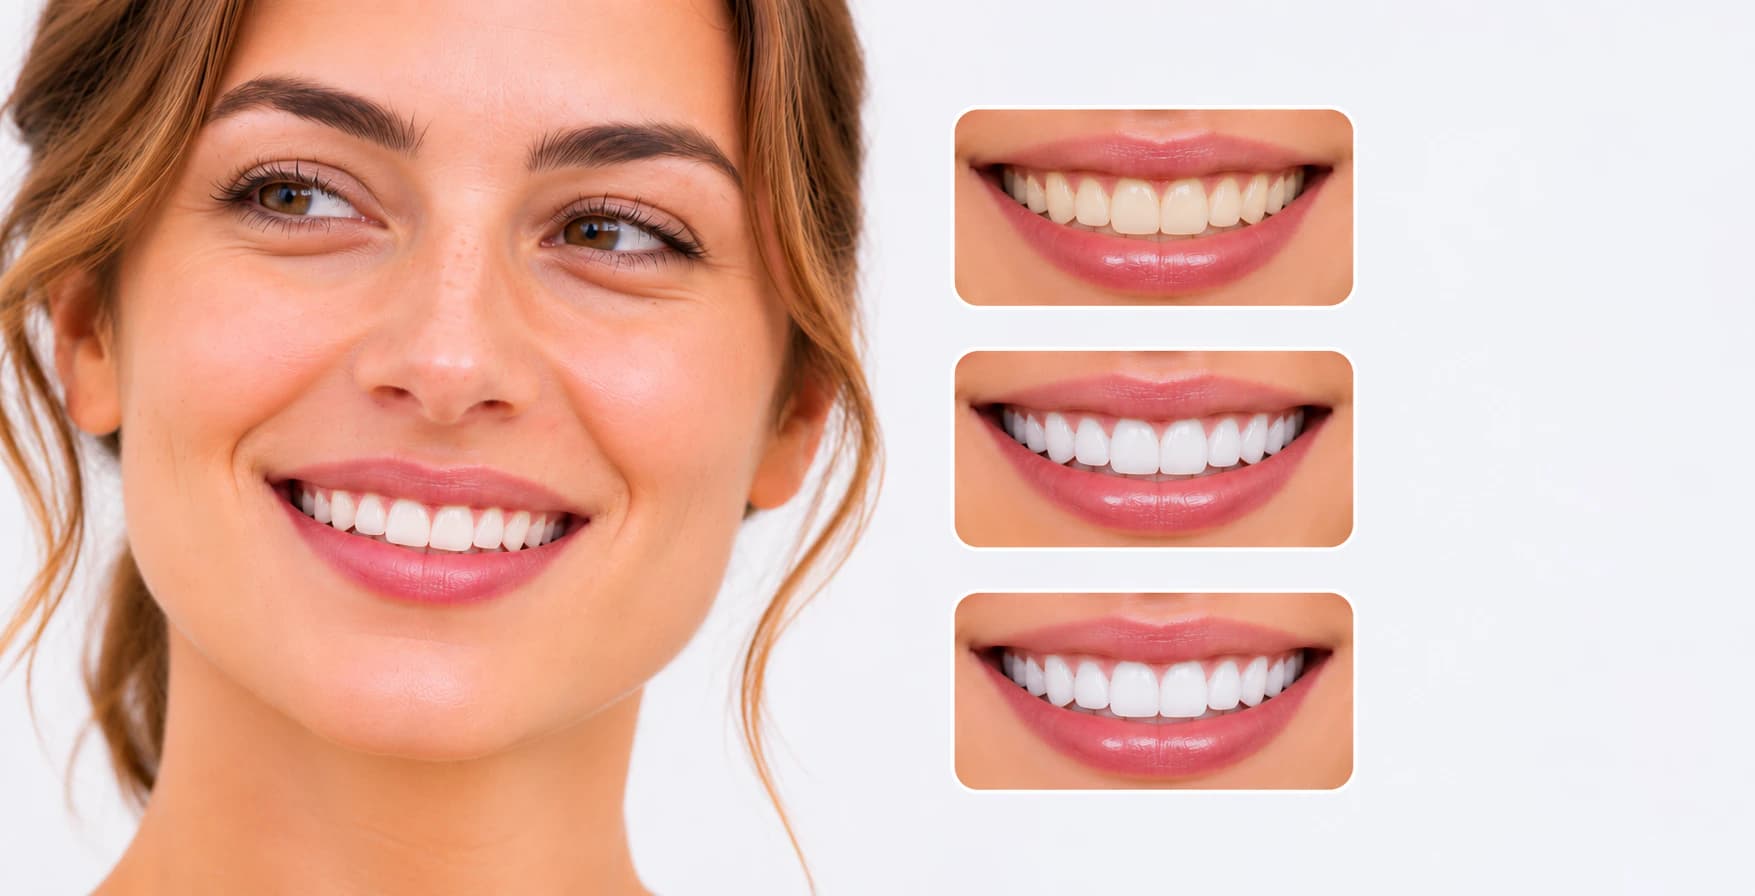
Natural shades copy the colour range of real teeth, bright shades sit at the light end of that range, and bleaching shades go whiter than any natural tooth. The right choice depends on your features, not on the whitest tab available.
Natural shades, such as A1 or B1, fall inside the colour range that real teeth show. Bleaching shades, sometimes labelled BL1 to BL4 or Hollywood white veneers shades, exceed that range. They look striking on screen but can clash with skin tone, lip colour, and the whites of the eyes in daily life.
Shade category | Value level | Visual effect | Best suited for |
Natural | Matches untreated teeth | Invisible blend | Partial veneer cases, subtle goals |
Bright natural | Light end of natural range | Fresh, clean, still believable | Full smile designs, most patients |
Bleaching | Beyond the natural range | Very high brightness | High contrast features, specific requests |
Natural, bright or bleaching? See the difference
Switch between the three shade categories. The dashed zone marks the natural range.
Natural shade
Matches your untreated teeth so the veneers disappear among them.
- Best for
- Partial cases and subtle goals
Bright natural shade
Sits at the light end of the natural range: fresh, but still believable. Usually one or two steps lighter than your baseline.
- Best for
- Full smile designs, most patients
Bleaching shade
Goes beyond any natural tooth colour. Can clash with skin, lips and the whites of the eyes, and a single veneer this bright stands out.
- Best for
- High-contrast features, specific requests
Colours are illustrative and vary by screen. Your shade is chosen with shade tabs under colour-corrected light and tested with a mock-up.
Warm, neutral, and cool whites also behave differently. A warm white carries a hint of yellow and reads as natural. A neutral white reads as clean. A cool white carries blue or grey notes and can look harsh or even artificial under daylight. Human eyes detect small colour differences easily. Studies place the average perceptibility threshold near ΔE00 0.8 and the acceptability threshold near ΔE00 1.8 in the CIEDE2000 system (Paravina et al. 2015). In plain terms, observers notice even modest mismatches, so excessive brightness rarely hides.
You can still reach a brighter smile without an artificial look. Most dentists suggest moving one or two steps lighter than your baseline shade, then testing the result with a mock-up before you commit.
How Does E.max Veneer Translucency Affect the Final Shade?
Translucency controls how much light passes through the veneer and how much of your underlying tooth colour shows. High translucency gives depth on healthy teeth, while medium or low translucency masks darker underlying structure.
E.max veneer translucency is not a single setting. Manufacturers offer the material in several ingot types, from high translucency (HT) through medium (MT) and low translucency (LT) to medium opacity (MO). Each type changes how the selected shade reads in the mouth (Wang, Yu, and Chen 2019).
Translucency level | Light behaviour | Typical clinical use |
High translucency (HT) | Transmits the most light, shows underlying tooth | Healthy, well-coloured teeth; maximum depth |
Medium translucency (MT) | Balanced transmission and masking | Mild discolouration |
Low translucency (LT) | More scattering, more brightness | Moderate discolouration |
Medium opacity (MO) | Blocks most underlying colour | Dark or metal-stained teeth |
Same veneer, different tooth underneath
Choose a translucency level to see how much of the tooth shows through.
Illustration only. Thickness also matters: thicker ceramic is brighter and more opaque, thinner ceramic shows more of the tooth.
A highly translucent veneer on a dark tooth can look grey because the underlying colour shows through. The same veneer on a bright tooth looks deep and natural. This is why your dentist evaluates the colour of the prepared tooth structure before choosing the ingot, not just the target shade (Vichi et al. 2023).
Thickness adds a second control. Laboratory studies confirm that translucency falls as ceramic thickness rises, following the Beer-Lambert law of light absorption (Wang, Yu, and Chen 2019). Your dentist and technician use this relationship deliberately. They combine ingot type, shade, and thickness to hit the planned colour while preserving enough ceramic for strength.
Should You Whiten Your Natural Teeth Before Getting E.max Veneers?
Yes. If you plan to whiten, do it before the final shade selection. E.max ceramic does not respond to bleaching, so the veneers must match your teeth after whitening, not before.
Whiten first, then choose the veneer shade
Natural teeth lighten with whitening and settle slightly afterwards. Veneers stay exactly as made.
Teeth whitening changes the colour of natural enamel through peroxide-based chemistry. Ceramic contains no organic pigment for peroxide to act on, so bleaching leaves the veneer colour unchanged (Joiner 2006). If your dentist selects a veneer shade first and you whiten later, your natural teeth will end up lighter than the veneers. The mismatch is permanent unless you replace the ceramic.
Whitening results also need time to settle. Tooth colour rebounds slightly in the days after treatment as enamel rehydrates and the shade stabilises (Joiner 2004). Most protocols wait about two weeks after the final whitening session before recording the veneer shade.
When a case needs both procedures, dentists sequence them in a fixed order: whiten first, let the colour stabilise, then select and fabricate the veneers. This order protects the match between the veneers and every untreated tooth around them.
How Do Dentists Match E.max Veneers with Your Existing Teeth?
Dentists match veneers to existing teeth by analysing enamel colour, dentin colour, translucency, and surface texture tooth by tooth, then transferring that map to the laboratory with photographs and written records.
A natural tooth is never one flat colour
Veneers are layered to copy these differences, tooth by tooth.
Within one tooth
Across your teeth
Your dentist records the base shade, incisal translucency, colour distribution and surface texture, plus photos, so the lab can reproduce all of it.
Veneer colour matching starts with the neighbours of the planned restorations. Natural teeth are not uniform. The central incisors carry the highest value in the smile. The lateral incisors read slightly darker. The canines show the highest chroma (Chu, Trushkowsky, and Paravina 2010). A single flat shade across all veneers erases this gradient and looks false.
Each tooth also shows its own internal map. The incisal edge is more translucent, the middle third carries the base shade, and the cervical third shows more chroma from the dentin. Fine surface texture scatters light and softens the colour. Laboratory technicians reproduce these features with layered stains, internal characterisation, and surface glaze during ceramic fabrication (Vichi et al. 2011).
Matching matters most when you receive veneers on only a few teeth. In those cases the ceramic must sit invisibly beside untreated enamel. The dentist documents not just one shade tab but a full description: base shade, incisal translucency, chroma distribution, and texture. This record lets the technician build a veneer that merges with the surrounding smile rather than simply sitting next to it.
How Do Digital Smile Design and Photography Improve Shade Selection?
Digital smile design and high-resolution photography let you preview proposed shades, let the dentist record colour under controlled light, and give the laboratory visual data that a written shade code alone cannot carry.
Digital smile design software places a simulated result over your facial photograph. You can compare several shade options side by side before any tooth preparation begins. This shifts the conversation from abstract tab names to images of your own face.
High-resolution dental photography adds precision. Photographs taken with shade tabs in frame, under colour-corrected light, let the laboratory verify the written shade record against a visual reference (Chu, Trushkowsky, and Paravina 2010). Cross-polarised images remove surface glare and reveal the true body colour of the tooth. Many dentists send a full photo set with every anterior case.
These tools guide the process, but they do not guarantee the final ceramic. Screens display colour differently from one device to another, and a simulation shows an approximation, not the fired porcelain. Treat digital previews as a shared language between you, your dentist, and the technician, then confirm the real result at the try-in stage described next.
Can You Preview Your E.max Veneer Shade Before Permanent Placement?
Yes. Temporary veneers, chairside mock-ups, and try-in pastes all let you see and approve the planned shade before the dentist bonds the ceramic permanently.
Three chances to see your shade before it's final
Changes are easy until bonding. After that, a new colour means new veneers.
Mock-up
Tooth-coloured resin over your own teeth, before any preparation.
Temporaries
Live with the look for days or weeks and judge brightness.
Try-in
Final veneers with try-in pastes, checked in daylight and indoor light.
Final
The shade can no longer be changed without replacement.
The preview happens in stages. A mock-up places a tooth-coloured resin version of the design directly over your unprepared teeth. You see the shape and the approximate colour in your own mouth, from your own mirror, and in photos from different angles. Temporary veneers extend this test over days or weeks. You live with the proposed smile, show it to people you trust, and report back on brightness and harmony.
The final checkpoint comes at the fitting appointment. Your dentist seats the finished veneers with try-in pastes, which are water-soluble gels made in different shades and opacities. The paste fills the space where cement will sit and shows how the cement colour will influence the final look. Translucent ceramic makes this step essential, because the underlying cement shifts the perceived shade of thin E.max veneers.
At this stage you evaluate the veneers under natural and indoor light before giving approval. Speak up about anything that looks too bright, too dark, or too opaque. Adjustments at try-in are simple. Adjustments after bonding are not, which leads directly to the errors patients most often regret.
What Are the Most Common Mistakes When Choosing E.max Veneer Colours?
The most common mistakes are picking the whitest shade available, ignoring your natural tooth colour and facial features, trusting screen images, skipping professional assessment, and overlooking translucency.
Mistake | Why it fails | Better approach |
Choosing the whitest tab | Exceeds natural tooth colour range and clashes with facial features | Move one or two steps lighter than baseline |
Ignoring natural tooth colour | Untreated teeth no longer match the veneers | Record baseline shade and plan around it |
Overlooking facial characteristics | Shade fights skin undertone and lip colour | Assess complexion before the tab comparison |
Relying on digital images alone | Screens display colour inconsistently | Confirm with shade tabs under correct light |
Skipping professional assessment | Untrained eyes miss value and chroma errors | Use a documented clinical shade protocol |
Ignoring translucency | Underlying tooth colour shows through and shifts the shade | Match ingot translucency to the prepared tooth |
Each mistake shares one root cause: the decision happened without clinical data. Colour perception research shows that even trained observers vary, and small differences near the acceptability threshold of ΔE00 1.8 decide whether a match looks right (Ghinea et al. 2010). A structured assessment removes that guesswork. Note that none of these errors relate to the ceramic itself. Lithium disilicate performs predictably when the selection process around it is sound, and that same predictability shapes how you care for the result.
How Can You Maintain the Appearance of Your E.max Veneers?
Maintain your veneers with daily hygiene, regular dental check-ups, and professional cleaning. The ceramic resists stains, but your natural teeth and gums around it still need full care.
Lithium disilicate is highly colour stable. Its glass-ceramic surface resists the pigments in coffee, tea, and red wine far better than resin materials (Vichi, Louca, et al. 2011). The veneer you approve on day one will hold its shade for years.
The teeth around it will not. Natural enamel picks up stains from coffee, tea, red wine, and tobacco over time. If surrounding teeth darken while the veneers stay constant, a new mismatch appears. Consistent brushing, professional cleaning, and moderation with staining substances keep the whole smile on the same colour track.
Mechanical care matters too. Avoid biting hard objects such as ice, pens, or fingernails, because ceramic is strong but brittle under point loads. Attend regular examinations so your dentist can monitor the veneer margins, the bonding line, and gum health. These habits protect both the colour and the lifespan of the restoration.
What Should You Ask Your Dentist Before Finalising Your E.max Veneer Shade?
Ask about the recommended shade, its behaviour under different lighting, the influence of your underlying tooth colour, whitening options, preview methods, translucency level, and how the laboratory will reproduce the result.
A focused question list turns the consultation into a working session. Use these questions to test the plan:
Which shade would complement my natural teeth and facial features, and why?
Will the selected colour look natural under daylight and indoor lighting?
How will the colour of my underlying tooth affect the final ceramic appearance?
Would teeth whitening before veneers improve the overall match?
Can I preview the proposed shade with a mock-up or try-in before bonding?
Which translucency level fits my dental condition best?
How will the dental laboratory reproduce the shade and surface texture we choose?
Clear answers to these questions show that your dentist follows a documented process rather than a quick visual guess. They also give you a record of the agreed plan, which protects you if any adjustment is needed later.
Frequently Asked Questions About Choosing E.max Veneer Shades
The questions below cover the points patients raise most often after the main consultation.
Which E.max Veneer Shade Looks the Most Natural?
The most natural shade is the one that matches your existing teeth, suits your facial features, and sits within the natural tooth colour range. For most patients this is one or two steps lighter than their baseline.
Natural-looking E.max veneers depend on harmony, not on maximum whiteness. A bright but balanced shade reads as healthy. An excessively white shade draws the eye to the restoration itself.
Are E.max Veneers Available in Hollywood White?
Yes. Manufacturers produce bleaching shade ingots that go beyond the natural tooth colour range, and many patients request them.
Availability does not equal suitability. A Hollywood white result needs high-contrast facial features and usually a full set of veneers, because a single ultra-white veneer beside natural teeth shows an obvious gap. Discuss the trade-offs with your dentist before committing.
Can E.max Veneers Look Exactly Like Natural Teeth?
Yes, when the case combines the right translucency, layered colour characterisation, and individualised surface texture.
The ceramic reproduces the light behaviour of enamel, and skilled technicians add the internal colour gradients and texture that make each tooth unique (Vichi, Louca, et al. 2011). The closer the match to your remaining teeth, the more invisible the result.
Do E.max Veneers Change Colour Over Time?
No. Lithium disilicate is colour stable and resists staining for many years.
What changes is the environment around the veneer. Natural teeth can darken with age, diet, or smoking, and old composite at the margins can discolour. Regular reviews let your dentist catch and correct these changes early (Joiner 2004).
Can I Change My E.max Veneer Shade After They Are Bonded?
No. Once the veneers are permanently cemented, changing the colour requires removing and replacing them.
This is why the try-in approval matters so much. Use the mock-up and try-in stages to test brightness, harmony, and your own reaction before you give the final yes.
Does the Colour of E.max Veneers Depend on the Thickness of the Ceramic?
Yes. Thicker ceramic transmits less light and looks brighter and more opaque. Thinner ceramic shows more of the underlying tooth.
Laboratory data confirm that translucency drops as thickness increases (Wang, Yu, and Chen 2019). Your dentist and technician balance thickness, ingot type, and shade together so the final colour matches the plan while the veneer keeps enough material for strength.
What Should You Remember About Choosing the Right Shade for E.max Veneers?
The right shade comes from a structured process: assess your natural teeth and facial features, whiten first if needed, select shade and translucency together, preview the result, and approve it only at try-in.
Learning how to choose the right shade for E.max veneers gives you control over the single most visible part of the treatment. The science behind the decision is clear. Lithium disilicate offers the translucency and colour stability to mimic enamel, but the material only performs as well as the selection process around it. Shade guides standardise the measurement, lighting controls the accuracy, digital tools support communication, and try-in pastes confirm the result before bonding.
Bring your expectations, ask the questions listed above, and insist on a documented shade protocol. A dentist who follows this process can deliver E.max veneer aesthetics that look like your own teeth on their best day, not like dental work.
References
Chu, Stephen J., Robert D. Trushkowsky, and Rade D. Paravina. "Dental Color Matching Instruments and Systems: Review of Clinical and Research Aspects." Journal of Dentistry, vol. 38, suppl. 2, 2010, pp. e2-e16.
Ghinea, Razvan, et al. "Color Difference Thresholds in Dental Ceramics." Journal of Dentistry, vol. 38, suppl. 2, 2010, pp. e57-e64.
Heffernan, Michael J., et al. "Relative Translucency of Six All-Ceramic Systems. Part II: Core and Veneer Materials." Journal of Prosthetic Dentistry, vol. 88, no. 1, 2002, pp. 10-15.
Joiner, Andrew. "Tooth Colour: A Review of the Literature." Journal of Dentistry, vol. 32, suppl. 1, 2004, pp. 3-12.
Joiner, Andrew. "The Bleaching of Teeth: A Review of the Literature." Journal of Dentistry, vol. 34, no. 7, 2006, pp. 412-419.
Kelly, J. Robert, and Paula Benetti. "Ceramic Materials in Dentistry: Historical Evolution and Current Practice." Australian Dental Journal, vol. 56, suppl. 1, 2011, pp. 84-96.
Lohbauer, Ulrich, et al. "Glass Science Behind Lithium Silicate Glass-Ceramics." Dental Materials, vol. 40, no. 5, 2024, pp. 842-857.
Paravina, Rade D. "Performance Assessment of Dental Shade Guides." Journal of Dentistry, vol. 37, suppl. 1, 2009, pp. e15-e20.
Paravina, Rade D., et al. "Color Difference Thresholds in Dentistry." Journal of Esthetic and Restorative Dentistry, vol. 27, suppl. 1, 2015, pp. S1-S9.
Vichi, Alessandro, et al. "Color Related to Ceramic and Zirconia Restorations: A Review." Dental Materials, vol. 27, no. 1, 2011, pp. 97-108.
Vichi, Alessandro, et al. "Translucency of Lithium-Based Silicate Glass-Ceramics Blocks for CAD/CAM Procedures: A Narrative Review." Materials, vol. 16, no. 19, 2023, article 6441.
Wang, Fu, Tong Yu, and Jihua Chen. "Biaxial Flexural Strength and Translucent Characteristics of Dental Lithium Disilicate Glass Ceramics with Different Translucencies." Journal of Prosthodontic Research, vol. 64, no. 1, 2019, pp. 71-77.